Gluten-Free Waffles
This recipe may contain Amazon or other affiliate links. As an Amazon Associate I earn from qualifying purchases.
These Gluten-Free Waffles are light and crispy classic waffles with the most delicious vanilla flavors but made without any gluten. Plus, if you are after an easy-to-make gluten-free breakfast that is sure to impress and these waffles are ready in less than 20 minutes.
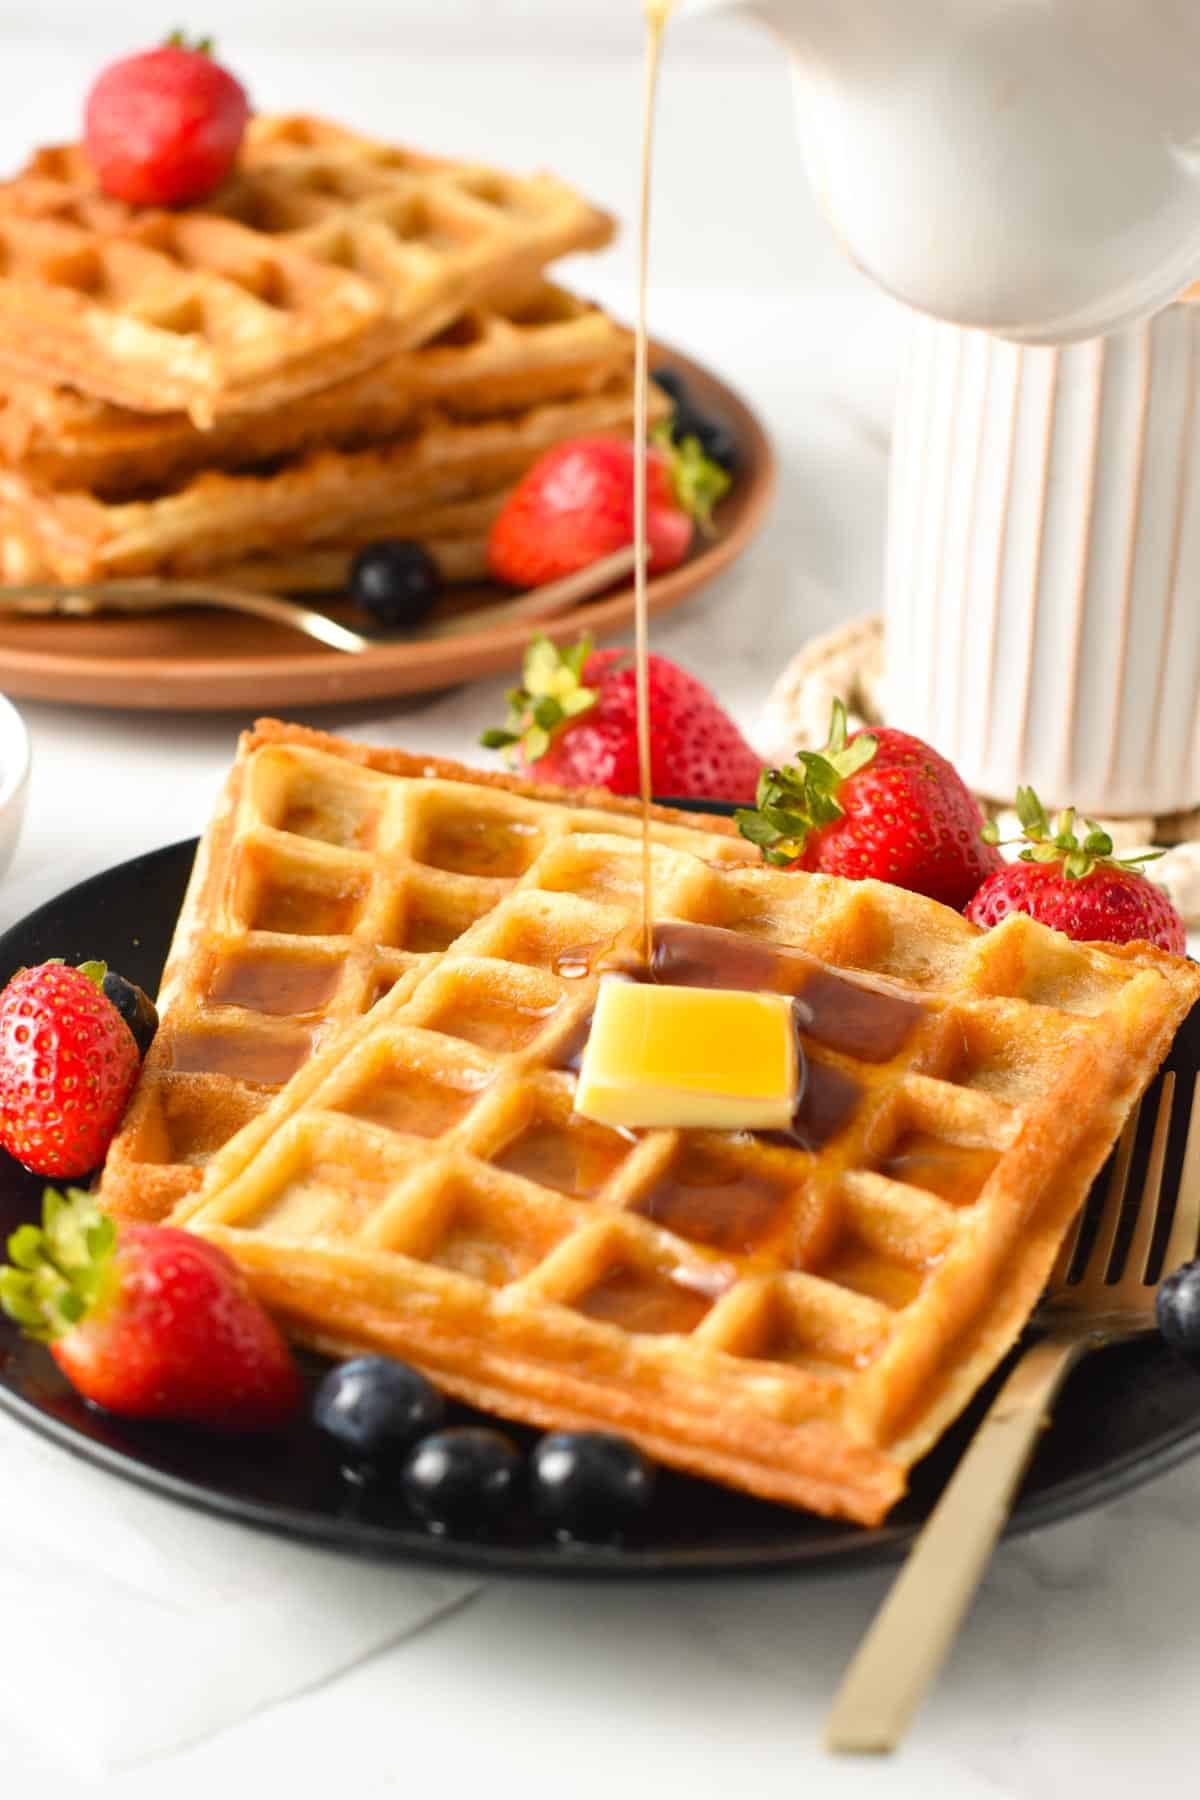
Who doesn’t like waffles? For many, waffles are one of the classic afterschool snacks as a kid, in particular if you live in France or Belgium.
This recipe is a gluten-free version of the classic waffles. You might have tried my delicious crispy almond flour waffles or soft coconut flour waffles. Today this version uses all-purpose gluten-free flour to make super crispy waffles that taste like classic Belgian waffles.
These are not Liege waffles! Liege waffles are made from raised yeast dough. They are thicker and soft in the center. But, if you are intolerant to gluten, this recipe is the closest you will find to classic Brussels waffles.
Ingredients and Substitutions
- All-Purpose Gluten-Free Flours – Not all brands are equal. I recommend picking a brand that contains added xanthan gum and works at a 1:1 ratio replacement to all-purpose flour. If these are mentioned on the packaging, you are pretty sure this recipe will work.
- Eggs – Prefer large free-range eggs.
- Plant-Based Milk – Almond milk, oat milk, or coconut milk work best for crispy waffles. If you want to use regular milk, use half milk and half water to make ultra-crispy edges on the waffles.
- Avocado Oil or any vegetable oil you like. However, I recommend avocado oil because it’s healthier, has a high smoke point, and won’t smoke at high temperatures in the waffle iron.
- Sugar – Classic white sugar or coconut sugar.
- Baking Powder – Make sure yours is gluten-free with no added wheat in the ingredient list.
- Salt
- Vanilla Extract
- Xanthan Gum – Only add to the batter if your flour blend doesn’t contain any.
How To Make Gluten-Free Waffles
What makes light and crispy waffles is a combination of a few simple ingredients. But most of all, oil and light plant-based milk are the secrets of ultra-crispy waffles. In fact, while many recipes call for melted butter and full-fat milk, I don’t recommend these options.
These make the waffles softer with a cake-like texture. If you love light and crispy funfair-style waffles, follow the recipe below.
- First, ensure your gluten-free flour blend is fresh, with no flour lumps. Fluff it with a fork if necessary.
- Then, use measuring cups to measure the flour. Use the scoop and sweep method, and don’t over-pack to avoid adding too much flour.
- In a large mixing bowl or the bowl of your stand mixer add flour, sugar, salt, and baking powder, and whisk to combine.
- Next, add the oil, eggs, vanilla extract, and milk. Whisk to beat eggs and milk into the dry ingredients. The batter should be smooth and slightly thick, like pancake batter. The key to making ultra-light and crispy waffles is to cook them in a warm, piping-hot waffle maker. If the waffle batter is cooked at too low a temperature, it won’t crisp, and the waffles stay light in color and soft.
Grease the waffle iron with cooking spray, then fill the iron plate with the waffle batter. Depending on the size of the iron, you need more or less of it to fully cover the bottom plate of the iron. If you don’t have cooking spray, you can use a pastry brush. Silicone works better. Rub the plates with avocado oil or olive oil.
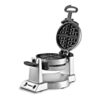
- My waffle iron makes two rectangular waffles, each requiring 1/3 cup of batter. But don’t add too much batter because it will spread as you close the waffle iron and, sometimes, overflows on the sides.
- Cook for 4 to 5 minutes or until the waffles are golden brown and crispy.
- Repeat the steps above to cook the remaining waffle batter, and always ensure that the waffle plate is greased and warm.
- Most of the time, you must wait a few minutes between each waffle to give time for the waffle maker to reach its maximum temperature.
- Again, this ensures that the plate is piping hot and the waffles turn out ultra-crispy.
Storage Instructions
Place each cooked waffle on a cooling rack so they stay crispy while you cook the remaining batter. Cover the cooling rack with a piece of foil to keep the waffles warm. You can serve the waffle immediately or cook all the batter and serve it later. As the waffles cool down, they lose some of their crispiness.
You have two options to rewarm them and bring their crispiness back. You can place the cooked waffles a few minutes in a bread toaster. You can also preheat the oven to 250°F (120°C) and place them on a baking sheet to keep them warm and crispy.
Serving Suggestions
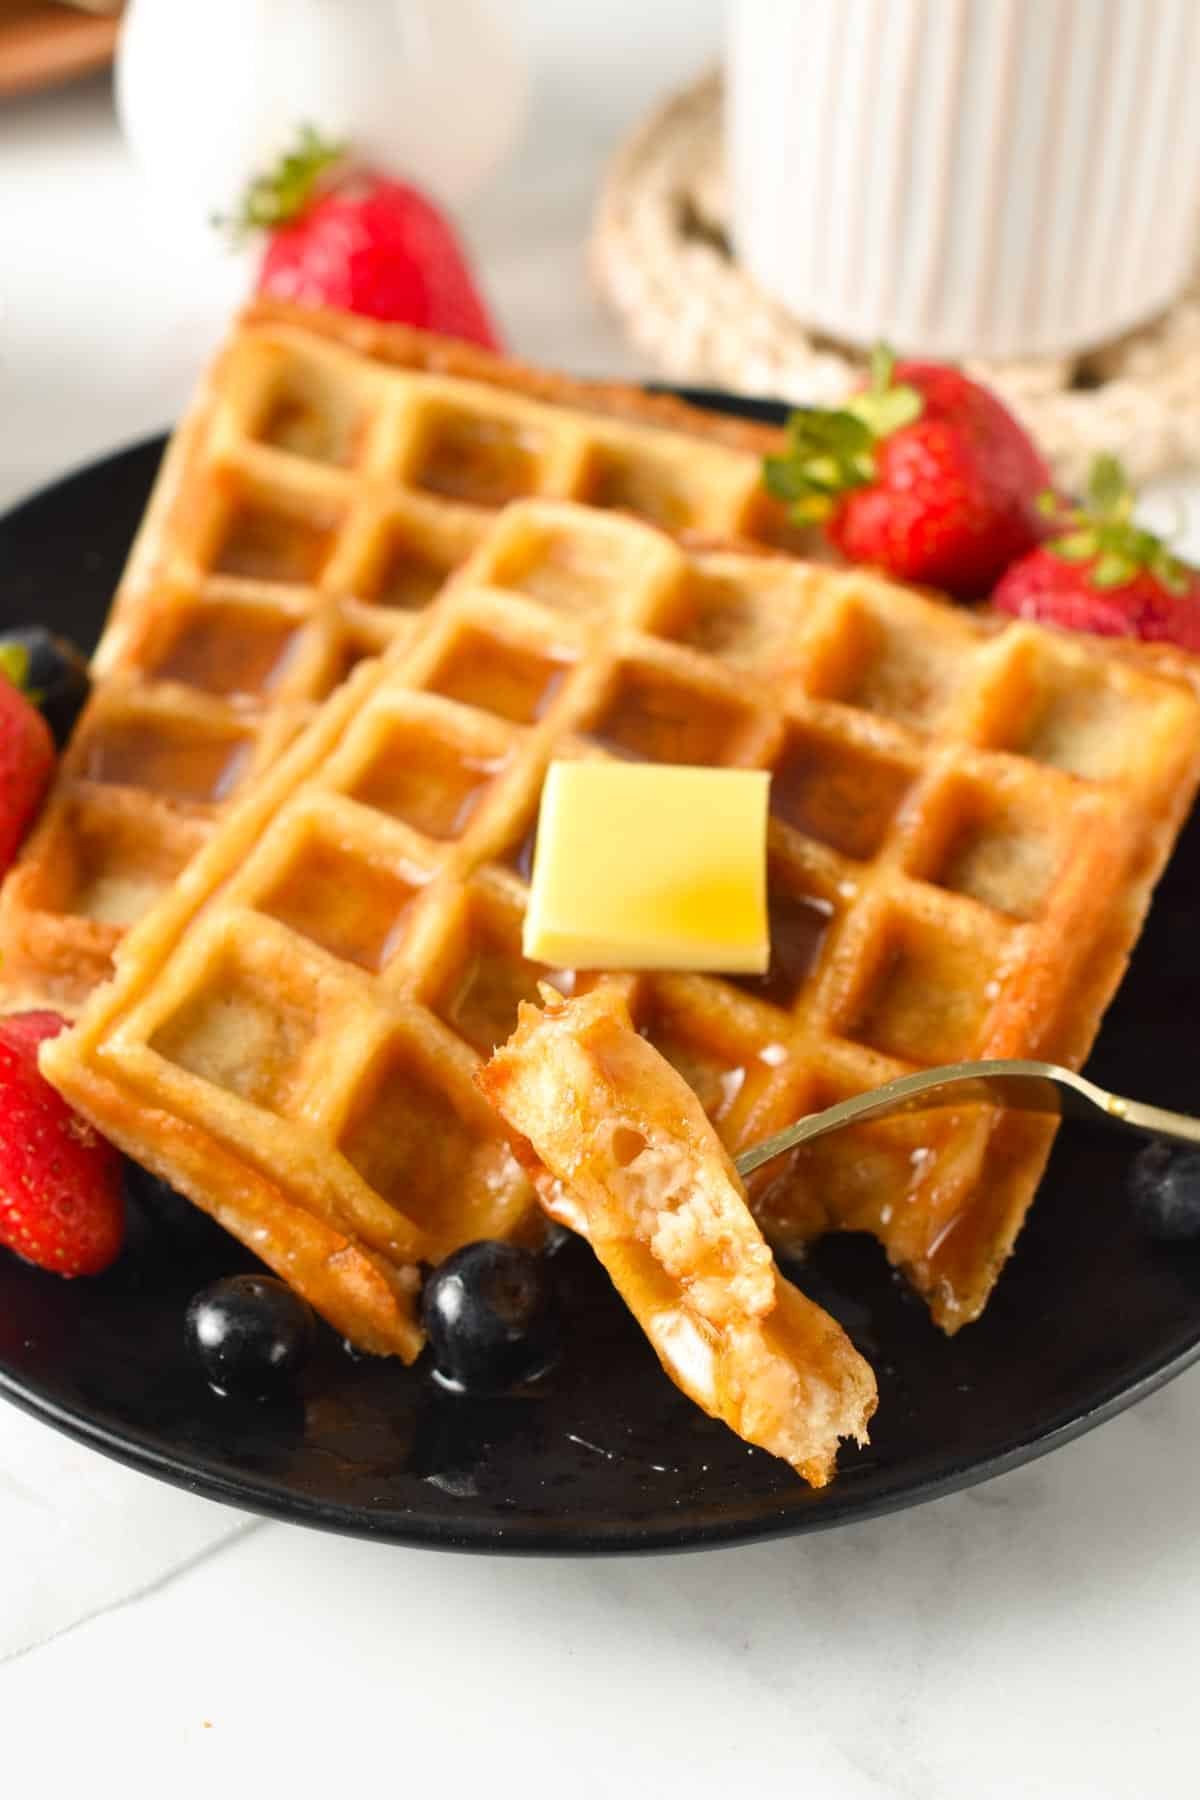
Waffles are naturally bland in flavor, and toppings add sweetness and flavor. Try some of the toppings below to make the waffles tasty.
- Whipped Cream
- Dut of powdered sugar
- Butter and pure maple syrup
- Jam
- Melted chocolate drizzle
- Caramel sauce
- Cinnamon sugar
Allergy Swaps
Below are some options to adapt this recipe to any food allergies you may have:
- Dairy-Free – Any milk works in this recipe, like almond milk, coconut milk, or soy milk.
- Nut-Free – If you can’t use almond milk, try coconut, soy, or regular milk if not dairy-free.
- Sugar-Free – You can skip the sugar or use your favorite sugar-free granulated sugar.
- Oil Swap – You can use any kind of oil as long as its flavor is light. This includes light olive oil, avocado oil, melted coconut oil, or canola oil.
- Egg-Free – Replace the two eggs with 1/2 cup of unsweetened applesauce.
- Vegan Gluten-Free – Use the egg-free and dairy-free options listed above.
Frequently Asked Questions
Find below my answers to your most frequent questions about this recipe.
I don’t recommend using any electric tool to blend waffle batter. They would add make the batter too airy. You would then need to let the batter rest for at least 30 minutes to use, and still, the batter can be overmixed and make the waffles chewy and dense. However, you can make the batter in a stand mixer, using the whisk attachment on low speed, speed 2-3 of a KitchenAid.
The gluten-free flour forms lumps if you don’t mix the wet ingredients with the dry ones too vigorously. Whisk faster, but don’t worry too much. You can make delicious waffles even if a few lumps stay in the waffle batter.
No, you can’t swap all-purpose gluten-free flour for other flour in this recipe.
More Gluten-Free Breakfast Recipes
Here are some more gluten-free recipes for your sweet breakfast, including gluten-free pancakes, crepes, and waffles recipes:
Did You Like This Recipe?
Leave a comment below or head to our Facebook page for tips, our Instagram page for inspiration, our Pinterest for saving recipes, and Flipboard to get all the new ones!
Gluten-Free Waffles
Ingredients
- 2 ¼ cups All-Purpose Gluten-Free Flour
- 1 tablespoon Baking Powder
- 3 tablespoons Sugar
- ¼ teaspoon Salt
- ½ teaspoon Xanthan Gum if not already in your flour blend
- 2 large Eggs
- 2 cups Milk
- ½ cup Avocado Oil
- 1 teaspoon Vanilla Extract
Instructions
- In a large bowl, whisk dry ingredients: gluten-free flour, baking powder, salt, sugar, and xanthan gum if used.
- In another bowl, beat the eggs with a fork, then add the flour along with milk, vanilla, and oil.
- Whisk well to combine and form a slightly thick batter – similar to a pancake batter.
- Warm a waffle maker on high.
- Spray cooking oil on the iron plate and fill the plates with waffle batter.
- Close the iron and cook for 4 to 5 minutes until crispy and golden brown.
- Serve with maple syrup, berries, or butter.
Storage
- Store leftovers in the fridge in a sealed container and rewarm them in a waffle iron, air fryer, oven, or bread toaster.
Want My Kitchen Equipment?
Nutrition
Disclaimer
The recipes, instructions, and articles on this website should not be taken or used as medical advice. The nutritional data provided on Sweetashoney is to be used as indicative only. The nutrition data is calculated using WP Recipe Maker. Net Carbs is calculated by removing the fiber and some sweeteners from the total Carbohydrates.
You should always calculate the nutritional data yourself instead of relying on Sweetashoney's data. Sweetashoney and its recipes and articles are not intended to cure, prevent, diagnose, or treat any disease. Sweetashoney cannot be liable for adverse reactions or any other outcome resulting from the use of recipes or advice found on the Website.






Share this post!
If you enjoyed this post, share it with your close ones!
Leave a comment